About a week ago, I finally succumbed and started to put the majority of the plants into their final pots. I quite enjoy this step, but it can be time consuming, so ideally I spread this out over a couple of days. I still have a few smaller plants in catch-up mode, these will be moved to the greenhouse as soon as the weather decides what it's going to do. (A record-breaking wet April and poor start to May are not helping much).
Anyway on with the process...
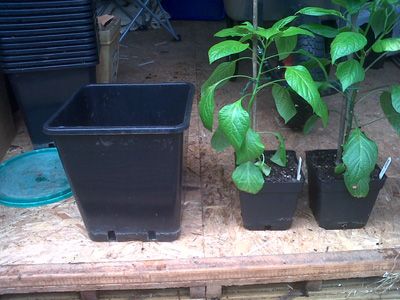
I jump straight from 13cm pots to 22cm pots as soon as I see some decent roots showing. This is probably a slight leap for some, but it works for me. Here you can see the two pots sizes side-by-side.
As there is quite a lot of compost required, I like to mix it up in the wheelbarrow - this is handy if I need to work indoors (say in the shed) and helps reduce the mess. Here you can see the compost / perlite / vermiculite mix ready to go. A ratio of 5:1:1 works for me. I use bog-standard B&Q compost for my chillis and have done so for years - they seem to have changed the mix a little this year, hopefully I wont notice any ill effects.

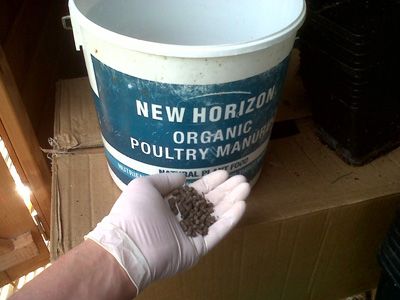
Once mixed, I fill the pot about 20% full then add a few chicken manure pellets for extra feed. You only need to add 6 pellets, as they are very strong and ensure they are mixed well. You also need to ensure that the roots do not come into direct contact with the pellets (until they've rotted down) as this can burn the roots. Hence, they're mixed in and buried well below the level of the plant going in. (If you premix these in with the main compost, you cant guarantee this). These are the pellets, this is enough for several plants - don't be tempted to overdo it!
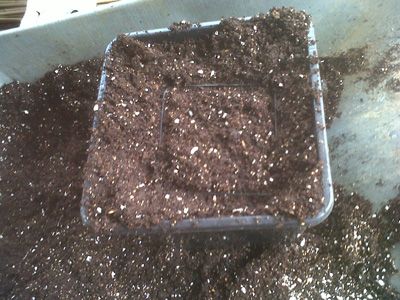
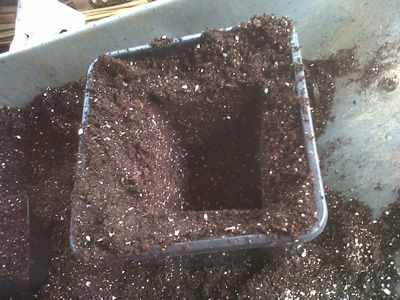
For potting on, I like to bury a sample pot in the large pot to get the size, position and depth correct. Here you can see the small pot in the large pot. Then, gently you can lift this out to create the perfect whole for the plant. If you can use an empty pot, life is much easier - using consistent-sized pots help a lot with this.
And then turn the plant out and simply drop it in. Tidy up and you're ready to go.
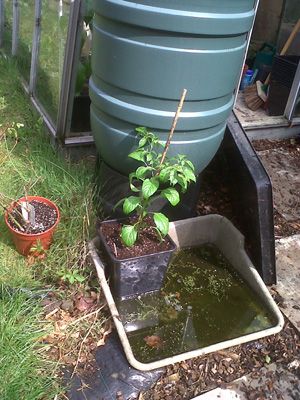
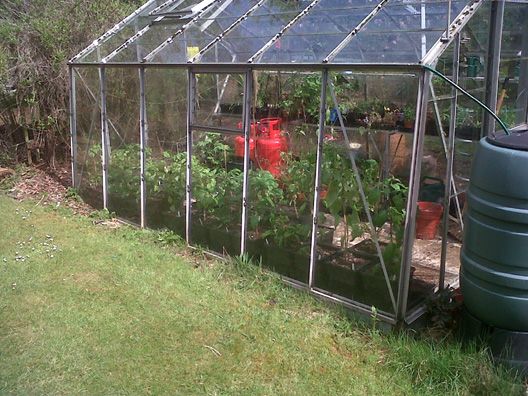
Next, all plant get put in the 'dunk tank'. This is simply a drip tray next to one of the water butts. This usually has an inch or so of water in it (which the local wildlife appreciate) and is a good for giving the plants a quick soak.
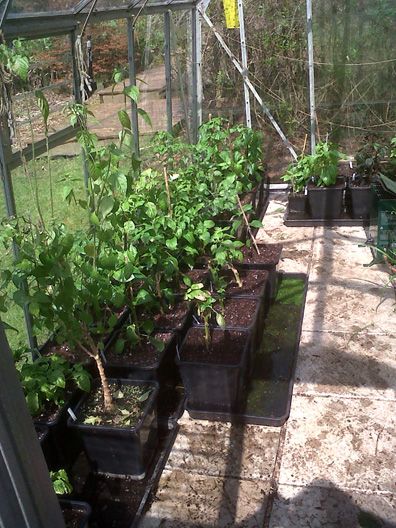
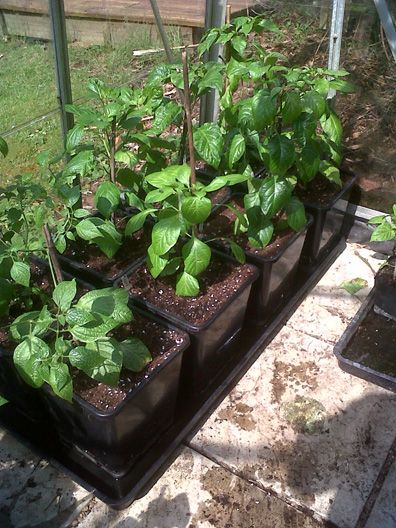
After a few minutes in the dunk tank, the plants are moved into the greenhouse and placed in the trays. I'm trying to keep then in matched pairs of the same variety, but the plants are not all at the same stage yet. Here they will get another watering from the base and watched carefully - if they need more water in a few hours time I'll add some more.
I was getting a little worried about my over-wintered plants, as many seem to have stalled. However, I've potted these on too and they are now showing some signs of being reinvigorated. Time will tell.
So a few final photos of the plants in the greenhouse, currently these are in their trays minding their own business, eventually these will be moved around a little more to give them breathing space, but no need to worry about that for a little while yet.